
Macropad
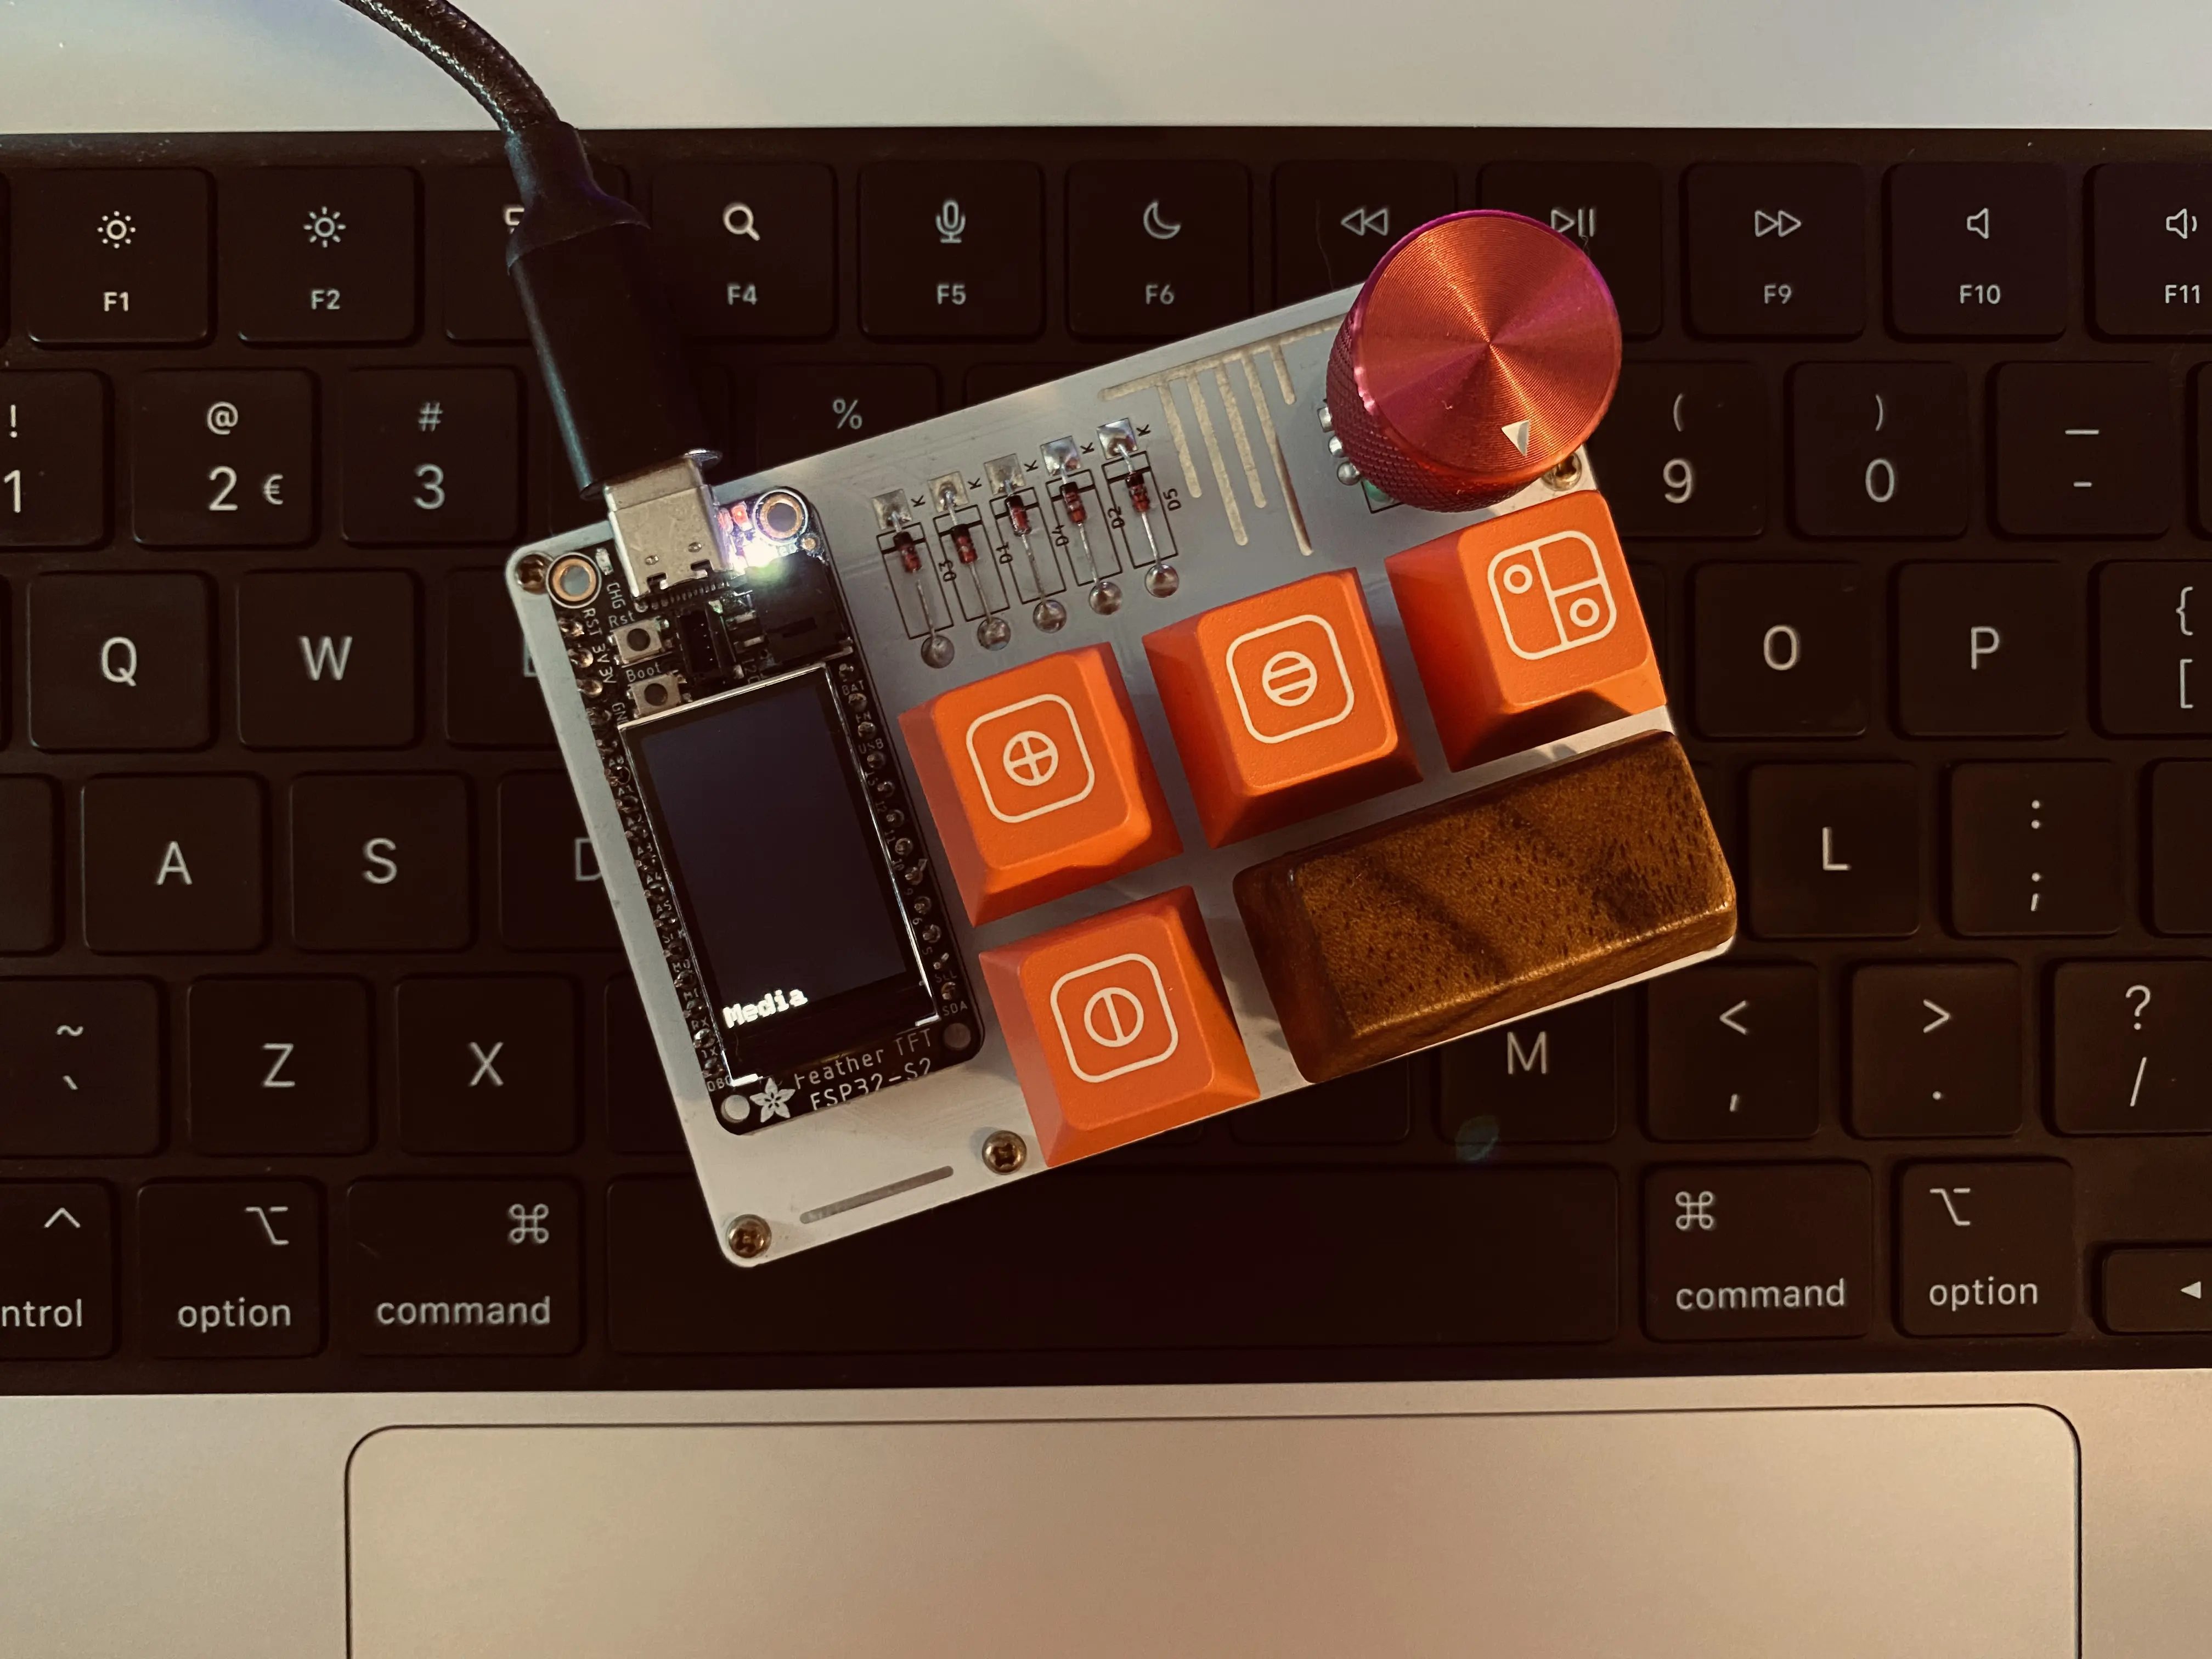
I made this project in order to work with the mistake of making a pcb that uses an ESP32-S2 chip. The ESP32-S2 chip is a low power chip that is not supported by the QMK firmware. This means that I had to make my own firmware in order to use this chip for a macropad. For this project, i wanted to use an Adafruit ESP32-S2 TFT Feather as it already included a display which would save me some time which happened to be a mistake afterwards. Funnily enough i bought a second one of these boards in order to make a second version of the PCB to make the macropad a little smaller.
Starting out with this project i only knew how to use C++ in order to work my way through QMK keymaps. During this project i learned a bit of C++ and how keyboards work.
One of the first things i needed to figure out is how to upload the firmware to the chip and how to connect as a USB HID device to the pc. I used the PlatformIO as it seemed to be the easiest way for other people aswell to quickly dive into the code and upload it to their chip. I've tried using the ESP-IDF library before ending up with this solution but it seemed troublesome with setting it up correctly and using external libraries.
Keypresses
Next up was to figure out how a keyboard matrix works and how to read the keypresses. I used the QMK github repository as a reference for this aswell as numerous opensource projects trying to achieve the same thing. I found out after a while that in order to make a keyboard matrix you would have to make all the input and output pins in columns and rows. After that you activate each row one by one and check if any of the columns are activated. Using this you can map the outputs to the keys representing each column and row combination and BOOM! you have a keyboard matrix.
Keycodes
Though this wasnt all i wanted, i wanted to add layers to the keyboard and make it a bit more customizable. I ended up making a layer system that would allow me to add as many layers as i wanted and switch between them. I also added a way to change the layer using a rotary encoder. Eventually i used a library to read the rotary encoder and added a way to change the layer using the encoder.
Eventually i added some neat stuff like being able to have other keycodes such as media keys and mouse keys, aswell as modifiers such as shift and ctrl applied to a key.
This was tricky as i didn't know how to assign 2 keys to a single key in the matrix.
Using the QMK library i found out its actually quite easy to do this. You just need to add a few extra bits to each key, for example if KEY_A = 0b0100 and the CTRL = 0b0001 you can just make a small lambda function to combine them like 0b0001 << 8 | 0b0100.
Later in the code you can just check if the key pressed has a modifier attached to it and extract it from the key and send both the modifier and keycode through the USB HID.
Finally i used the same tactic to detect custom keycodes in order to allow you to have custom functions such as toggling the display or making macros.
Final words
Other than this i have not done much more to this project as i deemed it good enough for my use case. Though if i were to continue this project later on i would try to finish the keycodes in order to make layer switching using keys and much more. I documented all of this in the project repository on my github: https://github.com/meir/macropad